
Click the link below to watch a video of us doing the dryer maintenance on a Sierra Dental Equipment EGL-T-12 dental air compressor with a service kit part # EGLT12MTND
https://youtu.be/3uzlpvVm6l4?si=NAA8_CkovU2lD87b
AT SIERRA DENTAL, we do our best to provide quality equipment and exceptional customer service. However, there are times when our dental compressors require preventative maintenance in order for them to continue to operate at peak performance.
Just like a car, lawnmower, or any other mechanical equipment, it's important for the owner/operator of Sierra Dental EGL-T6, EGL-T12, and EGL-T16 air compressors to inspect them often and replace filters and wear items as necessary. By doing this, you will extend the life of your compressor, thus decreasing the chances of costly downtime.
Read below for observations and actions that will help keep your compressor running smoothly:![]()
![]()
Power off your compressor after business hours.
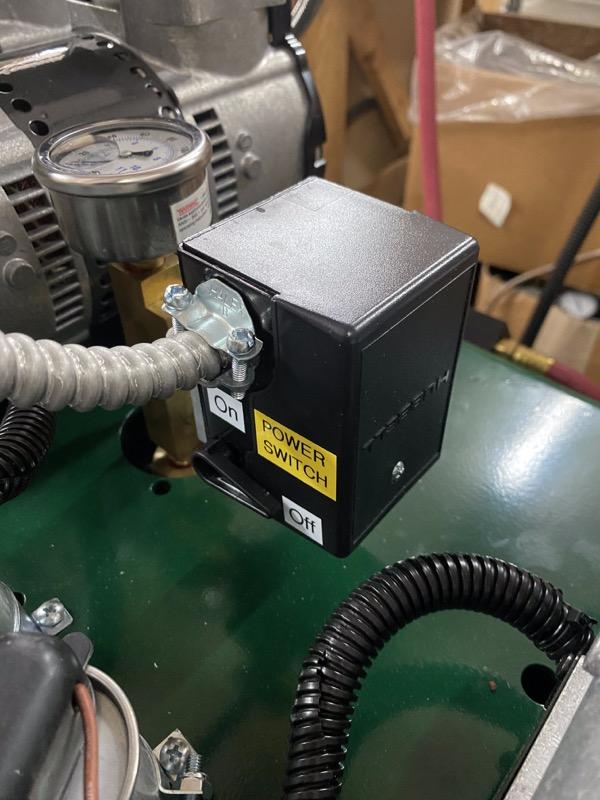
After the hours of operation at your dental office, it is extremely important to power off your compressor. This is key to long-term performance because your compressor will continue to feed any possible leaks, as well as dryer purges or other equipment that may possibly consume air. Depending on what is using air from your system, this can cause your compressor heads to power on and off throughout the night adding unnecessary time and wear on your Sierra Dental machine.
Check for leaks.
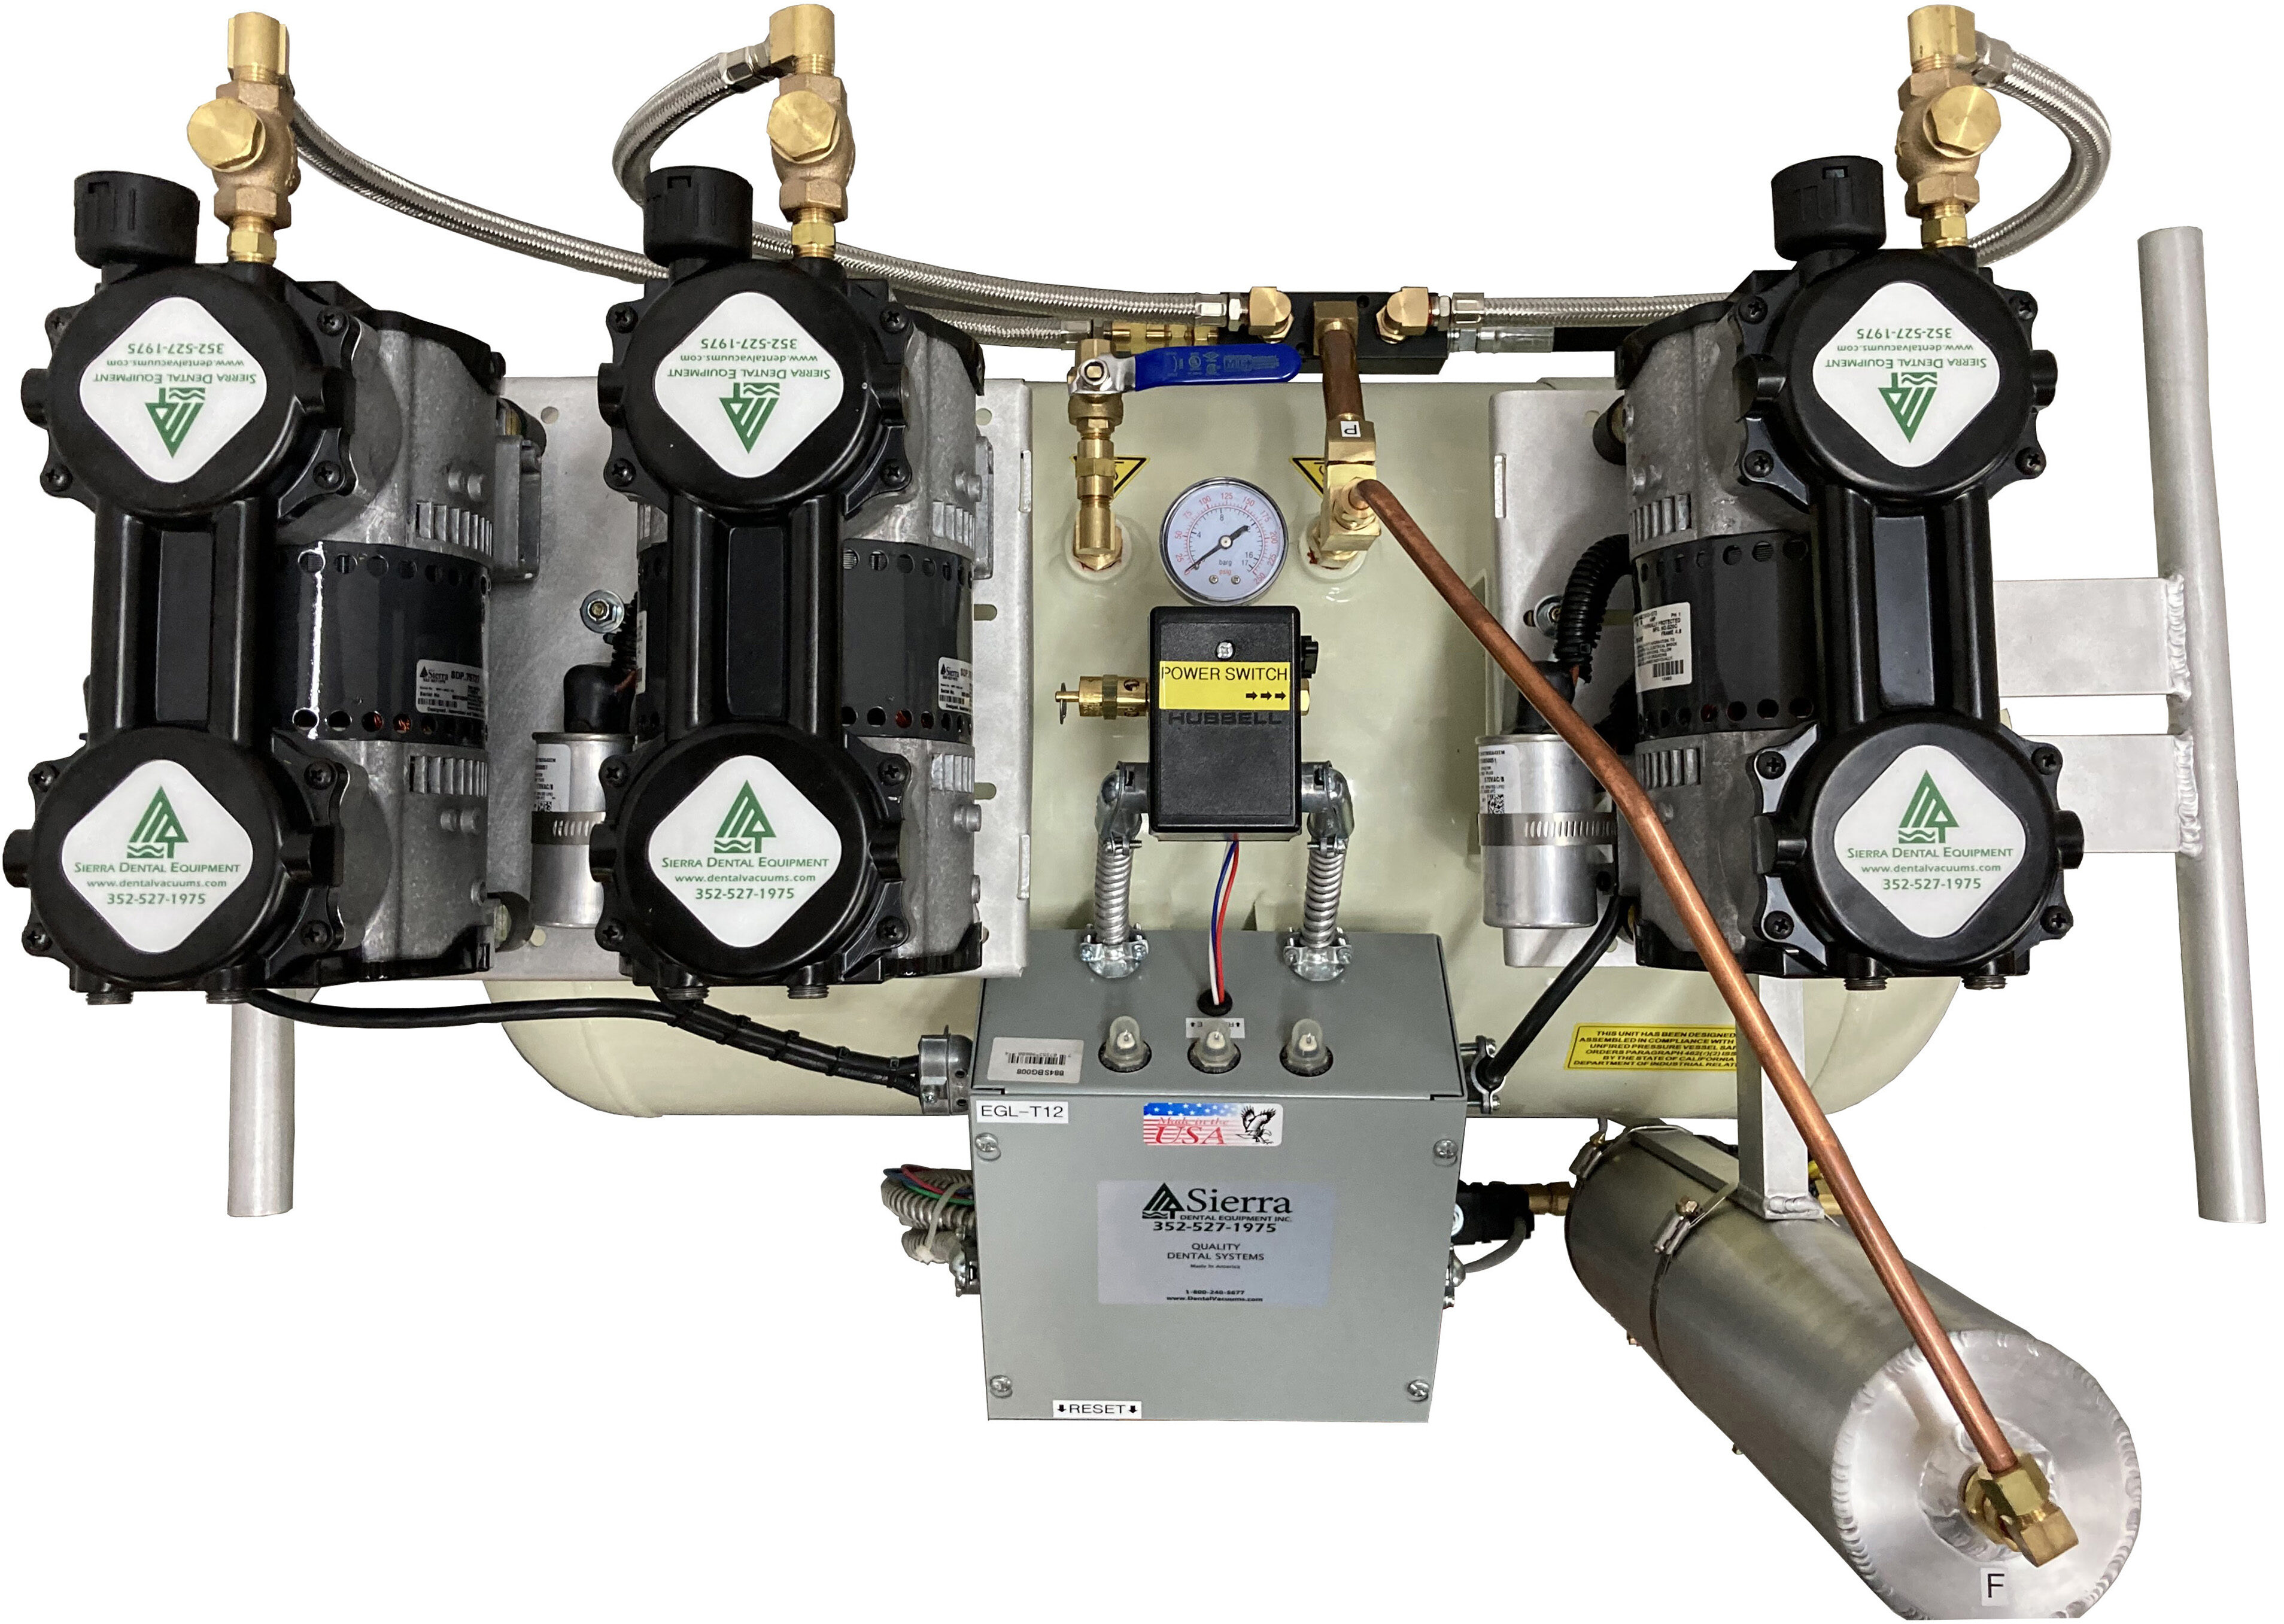
Although it may seem daunting to check your compressor and system for leaks, it's a fairly simple inspection. On each Sierra Dental air compressor, there is an air gauge that shows how much pressure is held in the tank. In the evening, when you power off your compressor, shut off the compressor valve to the building and be sure to check the PSI number on your air pressure gauge. If your compressor showed 98 PSI the prior evening, you should see that number (or a couple of PSI lower) on your gauge the next morning before powering up again. If the number is significantly lower than 98 PSI, you have a leak in your compressor.
In the event that you don't see a major drop in pressure, this means that the compressor does not leak. Now, re-open the valve that you closed the night before. If the building has any leaks, you will then see a major drop in pressure. Your gauge should show no drop overnight, and when you open the valve, it should not change if you have no leaks.
If you find that you have leaks in your compressor or in the building, you can locate the leaks using a spray bottle of water mixed with soap. Spray the soap and water mixture on any fittings or connections. If there are any leaks, you will see bubbles coming from that area. After you locate the leaks, be sure to have them repaired. Even the smallest leak in a dental office can be equivalent to a single user.
Inspect all filters/strainers.
On any Sierra Dental compressor, there are 3 main filters/strainers that are important for optimum performance: Coalescer, and Intake/Purge Silencer. If these filters/strainers are clogged or dirty, they can decrease the ease of operation on your compressor.

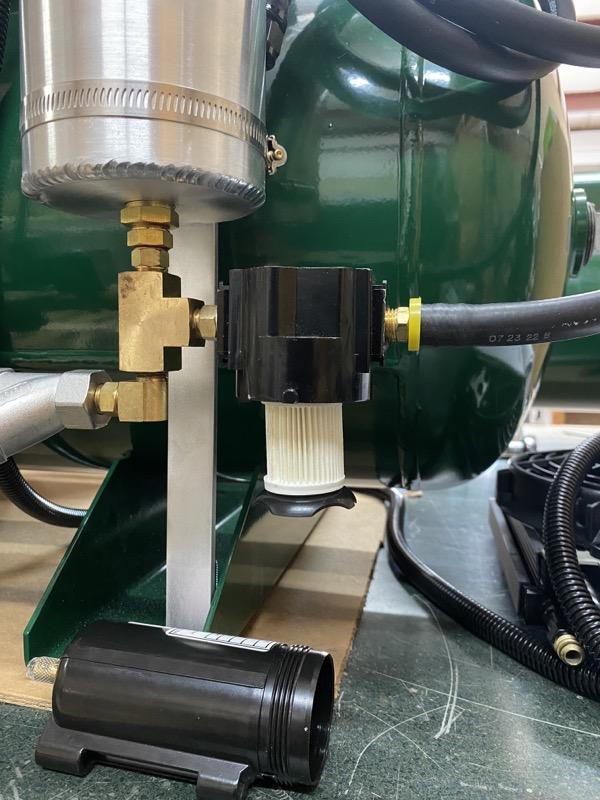
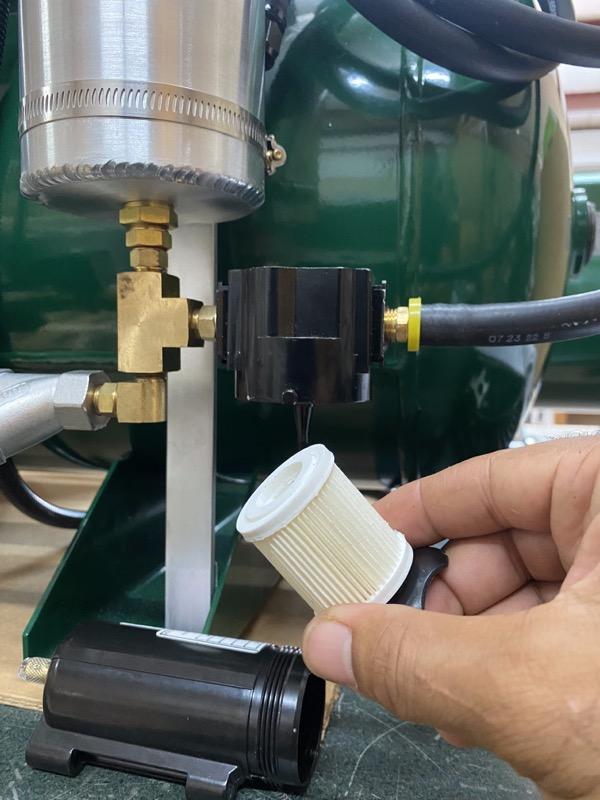
The Coalescer is located at the bottom of the aluminum dryer cylinder. The actual filter is located inside the black coalescer bowl, which needs to be unscrewed counter-clockwise in order to gain access to the filter. After the bowl is unscrewed, you will see the filter being held by a black plastic screw which also needs to be unscrewed counter-clockwise. You will then have access to the white coalescer filter.
The coalescer bowl should be replaced once per year because it has wearing parts.
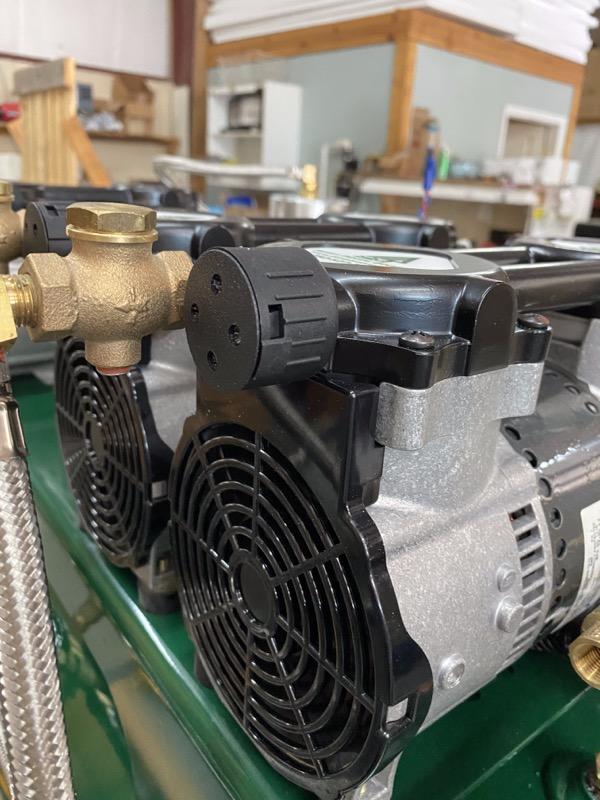
The Intake filter is located on the intake port of each compressor head. These filters are easy to replace and should be inspected and changed at a minimum once per year. To replace the filter, turn it counterclockwise until it is removed from the intake port. The intake filter is extremely important because it is the first and true line of defense against any unclean air that enters your compressor. If your Sierra Dental compressor is located in an open environment or somewhere that has a lot of dust, it's important to replace them at shorter intervals so that your compressor is not restricted.
Dryer cylinder strainers and desiccant.
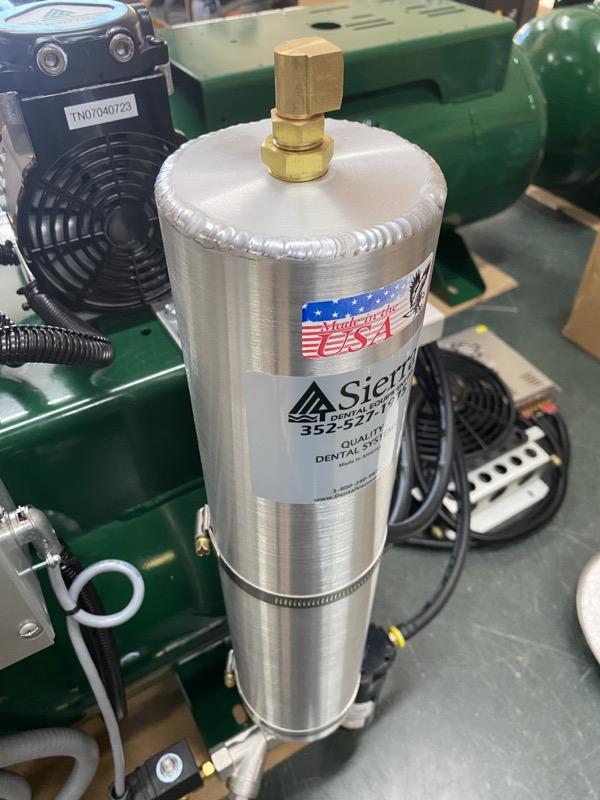
The dryer cylinder is important because it contains desiccant that removes any moisture from the air going through the compressor. Over time, the desiccant will absorb water until it can't hold anymore, and eventually can break down and become pasty. When the desiccant has reached its limit, it can allow moisture to continue through the system. However, when the desiccant breaks down, it can cause the strainers in your dryer or any other ports to become clogged, thus creating a burden on your compressor. A sure sign that your desiccant needs to be replaced, is that you will have lots of moisture in your compressor tank.
Heat exchanger fan.
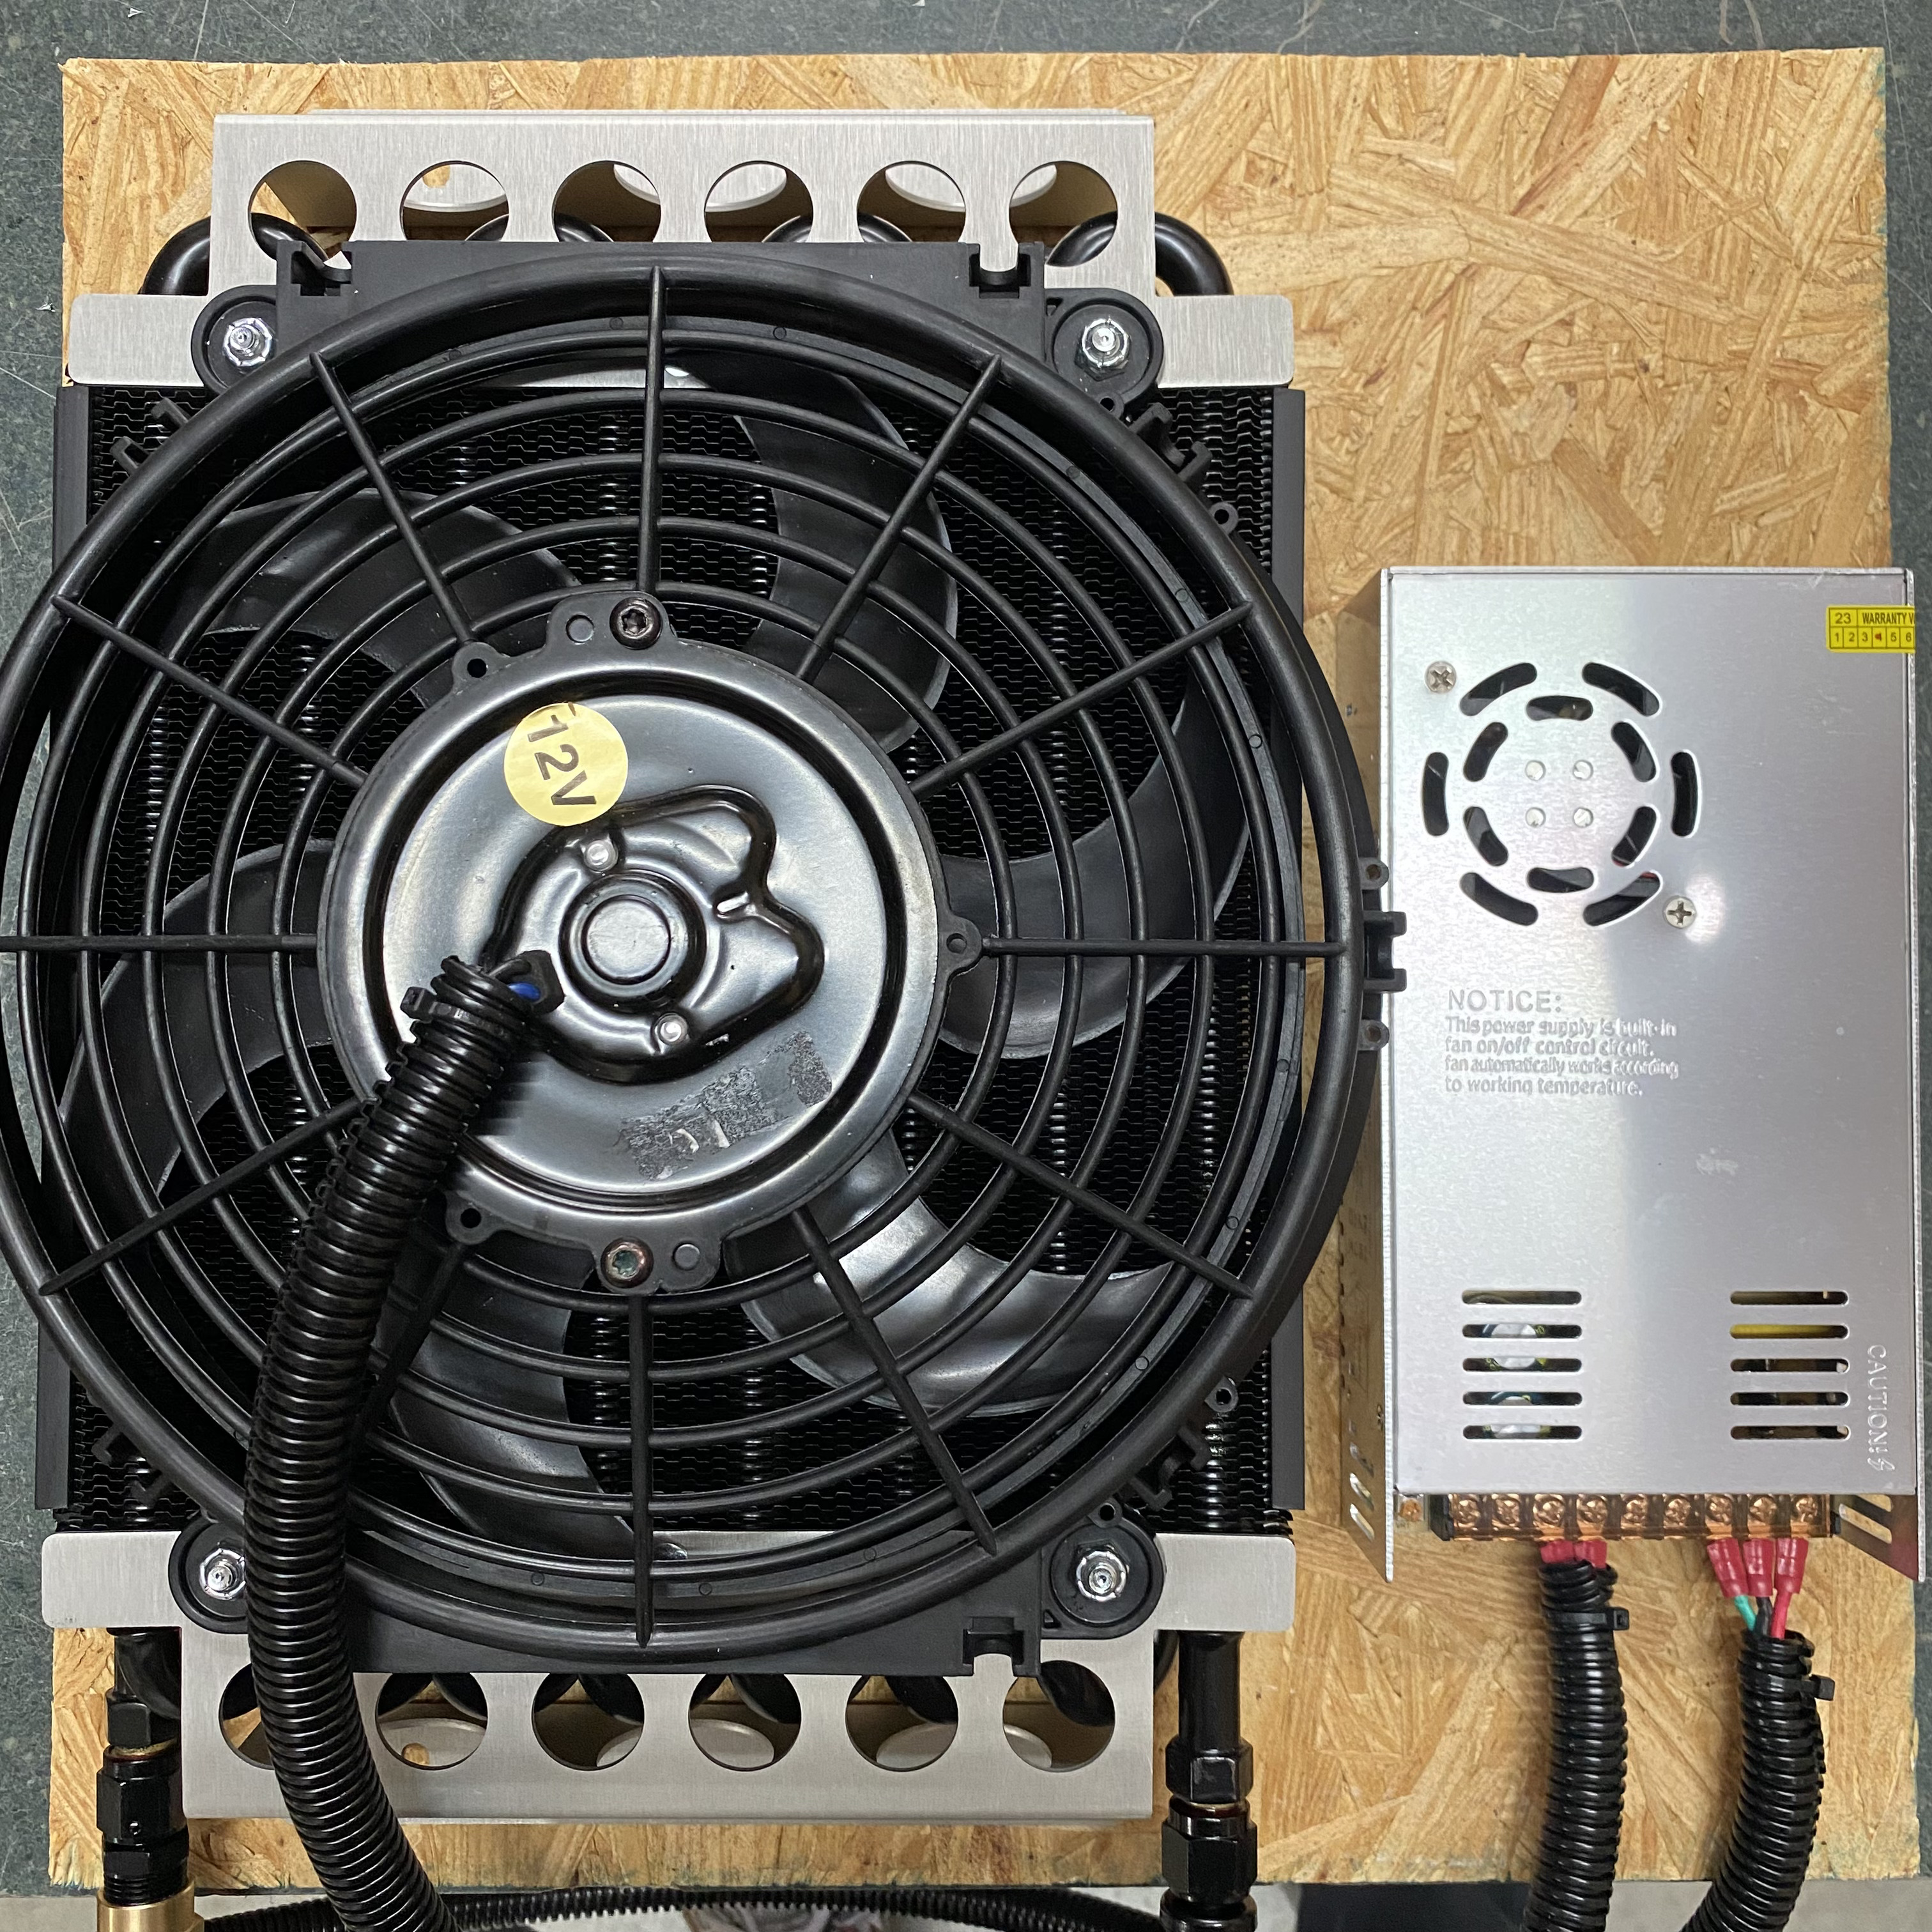
Because your compressor is located in a room that is warm or hot, it's important to monitor the operation of your heat exchanger. If your fan is not operating efficiently, the air will become hot which can also increase the amount of moisture in your compressor. It's also very important to make sure that your fan is clean and rid of dust and debris. When the heat exchanger fins are blocked with debris, it will cause a drop in performance, or failure, which will ultimately cost you time and money.
One way to check that your heat exchanger is operating properly is to compare the temperature of the hose entering the fan, with the hose exiting the fan (CAUTION: HOSES MAY BE HOT). If the hose that exits the fan is significantly cooler than the hose entering the fan, your heat exchanger is functioning properly. If both hoses are the same temperature, then there may be an issue with your cooling system and your heat exchanger may need to be replaced.
To ensure that your Sierra Dental compressor as well as all other components, operates efficiently, be sure to keep them in a clean and cool area. Also, be sure to look out for our next blog that will discuss how to manage heat in your dental equipment room.